
The mechanical difference, and what it forces
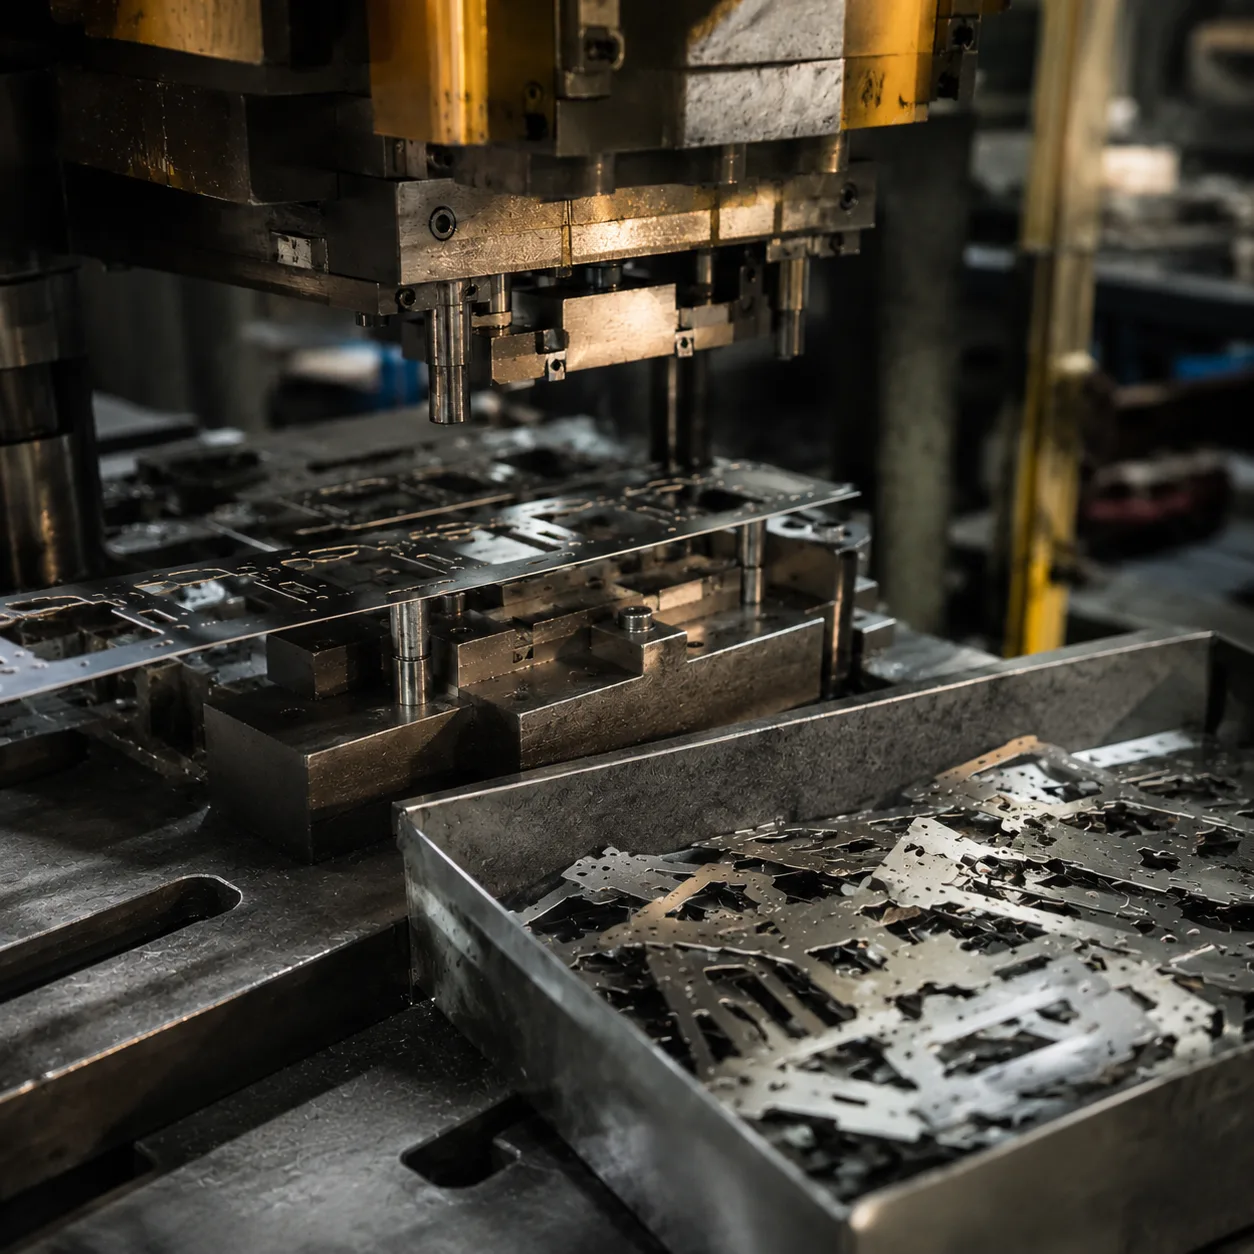
In a progressive die the strip feeds forward one pitch per stroke, and every station performs one operation on every part simultaneously — pierce here, form there, trim downstream — until the last station cuts the finished part free. The strip is both transport and workholder, which makes the process fast and stable but also ties every part to its neighbours: the strip must carry the part, so features on the carrying webs, part orientation, and how far operations can reach around the part are all strip-layout decisions.
Transfer dies cut the blank free at the first station; fingers or rails then carry each individual part from station to station. Freed from the strip, the part can be flipped, formed on sides a strip layout could never reach, drawn deeper, and made larger — at the price of slower cycle times and more complex handling between stations.
Side by side
| Factor | Progressive die | Transfer die |
|---|---|---|
| Workpiece transport | Continuous strip; part cut free at the last station | Blank separated first; carried station to station |
| Cycle speed | Fastest per part — the high-volume default | Slower — handling between stations |
| Part size | Bounded by strip width and feed pitch | Large parts are the reason to transfer |
| Two-sided / deep forms | Limited by strip connection and reach | Full access — flip, deep draw, multi-side forms |
| Strip layout sensitivity | High — layout is the die's core design | Low — no strip to design around |
| Typical duty | Small-medium parts, high volume, tight repeat | Larger shells, housings, deep-drawn bodies |
| Tooling character | Many stations, precision strip guidance | Fewer, heavier stations + transfer system |
How the decision actually gets made
Size is the first gate. If the part is small enough to feed on a strip and its features are reachable in the stations a strip layout allows, progressive wins on speed and repeat stability — which is why connectors, brackets, terminals and small shields run progressive by default. The moment the blank will not fit a sensible strip, or the strip would waste more material than it carries, the argument moves to transfer.
Geometry is the second gate. Deep draws are the classic transfer case: a shell that walks down through redraw stations with the part free to breathe between hits. Two-sided forms — features needed on faces the strip side cannot offer — point the same way. On our floor the progressive/transfer/fine-blanking question is settled at strip-layout review, which is precisely why we sign off the strip layout with you before a die is cut: the layout is the die's irreversible decision.
Volume then sets the economics, and it is a break-even calculation rather than a rule of thumb — tooling cost against per-part saving, which we run on your actual part. The cost page covers how tooling is quoted and where the break-even sits.
Where both dies sit in our stamping line-up
Progressive and transfer are complements, not rivals: the workshop quotes whichever the part geometry demands, and the die workshop designs, builds and maintains both in-house. Compound dies complete the picture for flat parts that want multiple cutting operations in a single stroke. If you are deciding between processes at the quotation stage, send the drawing and the annual volume — the strip layout, the die type and the break-even come back with the price.