
Hardware Insertion in Sheet Metal: Design Rules
Inserts turn thin sheet into something you can bolt to. They also fail in a specific and predictable way when the sheet is too thin, the hole is too close to an edge, or the insert ends up inside a box that has already been closed.
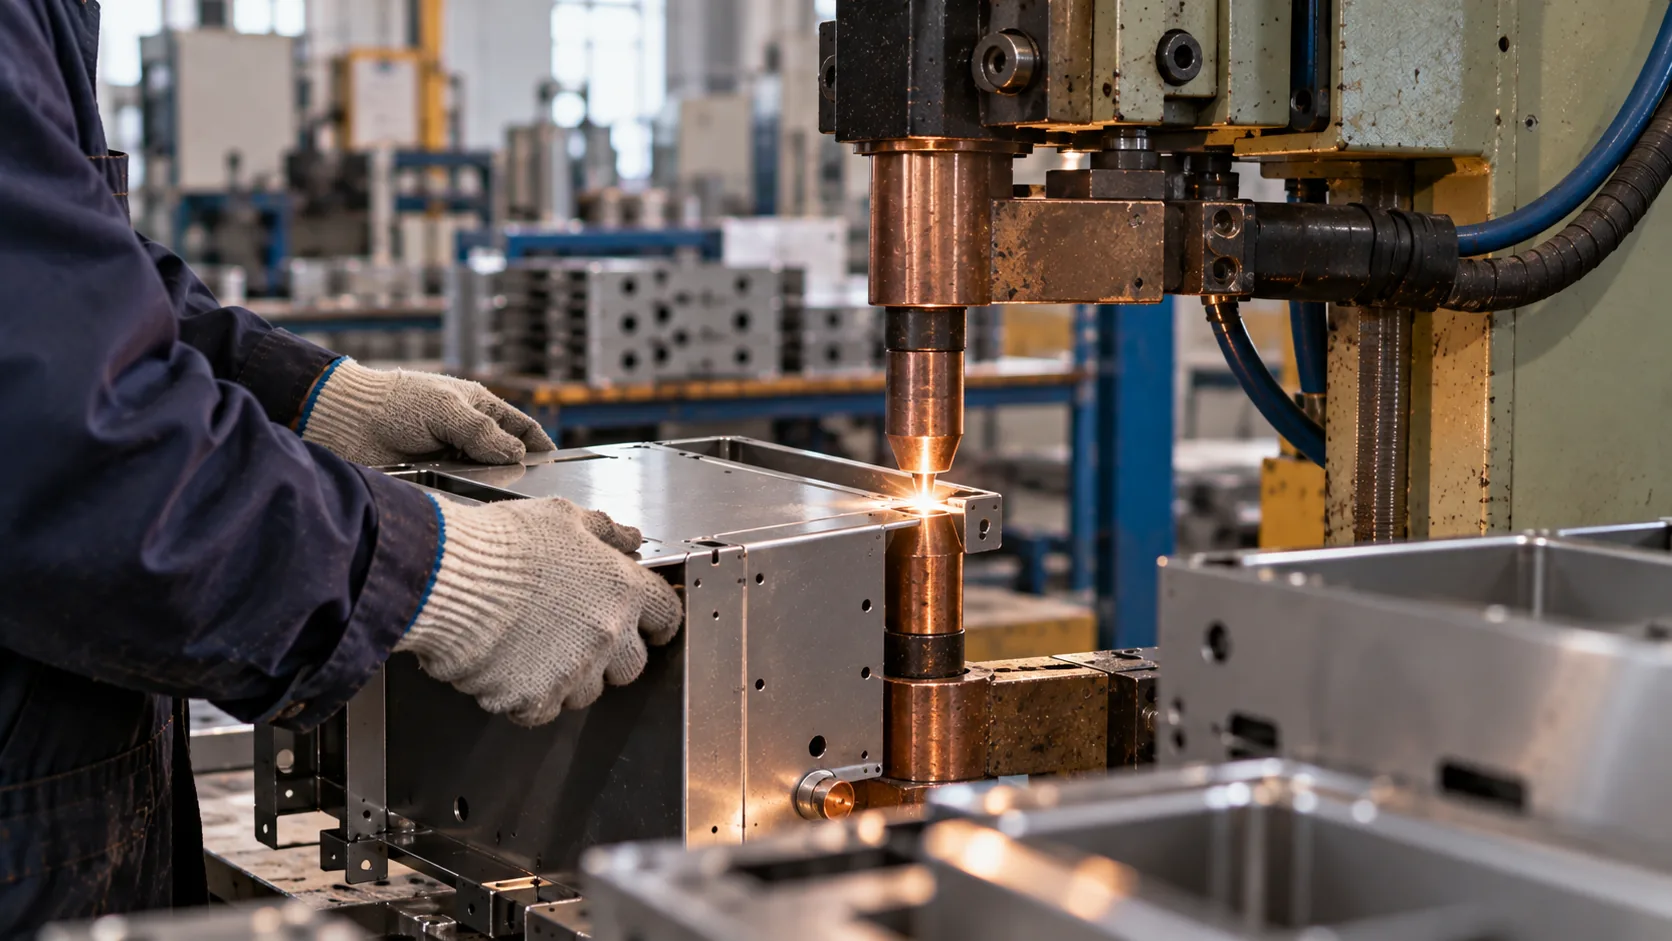
Self-clinching hardware needs three things from the design: enough sheet thickness for the knurl to displace into, enough edge distance to hold the fastener, and press access at the moment it is installed. Miss any one and the insert either pulls out, rotates, or cannot be pressed at all.
Thickness and hole size are not suggestions
A self-clinching fastener works by displacing a small volume of sheet material into an undercut groove in the fastener body. That mechanism needs material — which is why every insert family has a minimum sheet thickness below which the clinch cannot develop the holding force it is rated for.
The hole size is equally fixed. The insert manufacturer specifies a hole with a tolerance, and the knurl or hex shoulder is dimensioned to displace into that specific annulus. Substituting a conveniently-sized hole from the drawing defeats the mechanism: too large and the fastener spins, too small and it will not seat.
Edge distance and the pull-out question
The load on an insert goes into the sheet around it. If the hole is too close to an edge or to another hole, there is not enough material to carry that load and the sheet deforms before the fastener does. Every insert family publishes a minimum centre-to-edge distance, and it is usually larger than designers expect.
Where the load is high or the sheet is thin, the alternative is a captive nut welded to a doubler plate, a threaded boss, or simply more thickness locally. Each has a cost, and each has to be decided before the part is cut because they all change the hole and sometimes the geometry.
| Symptom | Likely cause | Prevention |
|---|---|---|
| Insert spins in service | Hole too large, or insufficient sheet thickness | Hold the specified hole tolerance; check minimum thickness |
| Insert pulls out under load | Edge distance or hole-to-hole spacing too small | Increase the web, or add local thickness |
| Insert sits proud or will not seat | Wrong hole size, or burr left in the hole | Specify the hole and the edge condition; deburr before pressing |
| Cannot press the insert | No press access after assembly | Plan the assembly sequence before placing inserts inside closed sections |
| Coating fouls the thread | Insert pressed before finishing, no masking | Decide the order: press after coating, or mask the thread |
Insert problems and their real causes
Assembly sequence is the design constraint
An insert inside a closed box section cannot be pressed after the box is closed. That sounds obvious written down, and it is one of the most common late design changes we see, because in a CAD assembly all the parts coexist and the sequence is invisible.
The discipline that prevents it is simple: write down the order in which the assembly is built, then walk each insert and fastener through that order and confirm there is tool access at that moment. Where there is not, the choice is to move the insert, move the joint, or leave an access hole that is closed later.
- Confirm press access in the real assembly order, not in the model.
- Where an insert must be pressed before coating, expect to mask the thread.
- Pressing after coating protects the thread but can damage the film around the insert.
- Spinning and pull-out are both mechanical; specifying a larger insert does not fix a thickness problem.
Frequently asked questions
What sheet thickness do I need for an insert?
It is set by the insert family, not by a general rule, and the manufacturer publishes a minimum for each part number. As an indication, most standard nuts and studs need at least around 1 mm, with larger threads needing more. Send the part number and we will confirm it against the sheet you have specified.
Should inserts be pressed before or after coating?
Usually after, so the thread stays clean and the insert is not baked. That means the insert is not coated, which is normally what you want for an earth path or a thread. Where the insert must be coated for appearance, masking the thread is the compromise.
What is the minimum edge distance for an insert?
Larger than most drawings assume, and it depends on the insert and the load. Every family publishes a centre-to-edge figure; below it, the sheet deforms around the fastener instead of the fastener carrying the load. Where the drawing does not allow the distance, add local thickness rather than ignoring it.
Can I use a rivet nut instead?
Often, yes — a rivet nut needs less press access because it is set from one side, which makes it easier on closed assemblies. It generally holds less load and sits proud of the sheet, so it is a fit-and-function decision as much as a cost one. Both are available.
Do you supply hardware or do we?
Either. We can source standard inserts and press them to your drawing, which keeps responsibility for the hole and the insert in one place. Where you supply a specified fastener, we will press to your part number and report any that do not seat.
Send the drawing, get a real answer
An engineer reviews your model for manufacturability and returns a costed quotation — with the DFM observations that would change the price.